Zoho CRM for iPhone
Zoho CRM for iPhone
1.Start screen
Your home screen will show all the appointments, tasks and calls you have scheduled for that day in your calendar. You can also create new ones or mark existing ones as completed.
2. My Jobs Module
The My Jobs module displays all records and their current status in your organisation's Sales Blueprint, or records awaiting your approval, and also displays records held by other users.
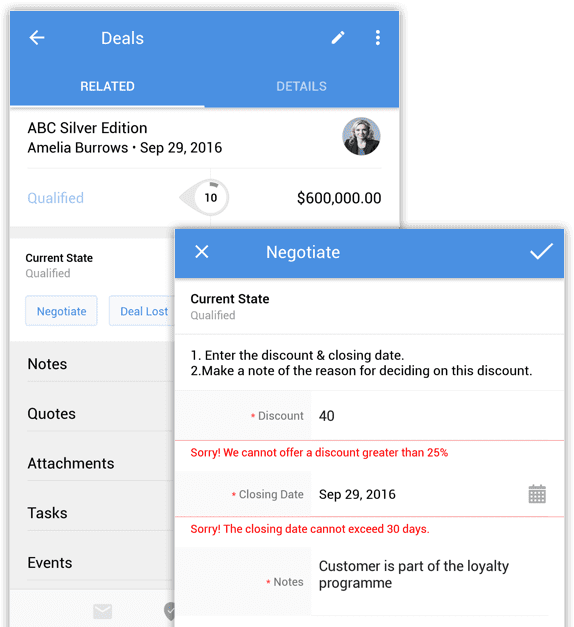
- To use Blueprints, go to the My Jobs module and select "Blueprint" from the drop-down menu. This will bring up a list of all the records in the Blueprint, from which you can select the record you want. When you select it, the Current Status of the record and the Transition it must go through to get to the next Status will be displayed. Once you press the Transition button, you can save your changes.
- To approve certain records, go to the My Jobs module and select "Approvals" from the drop-down menu. A list of all records waiting for your approval will appear. Here you can approve them, reject them, or transfer them to another user.
3.Communicating with customers
3.1.Calling, call logging and texting customers
You can call prospects, contacts and also record details of calls made in the CRM. To record call information, you'll need to enable call record keeping from the Zoho CRM app settings.
- To enable call logging, go to settings in the Zoho CRM app. In the "Calls" section, enable the "Call Logging" option.
- To make a call, choose the desired module and select the person you want to call. Press the call button and select the number. Save the call, and once completed, it can be accessed from the Calls module.
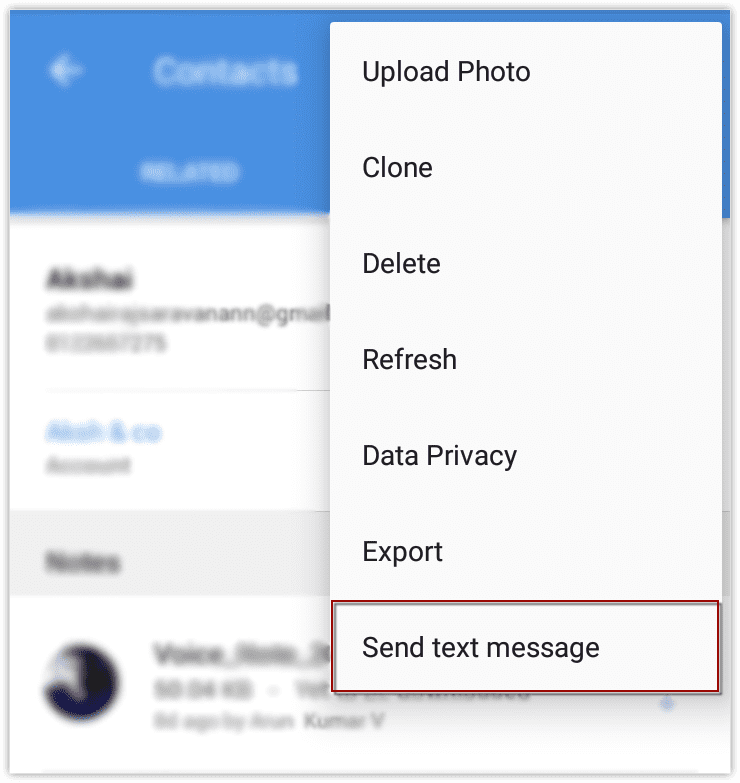
- To send an SMS, choose the desired module and select the person you want to send an SMS to. Press 'More' and 'Send Text Message'.
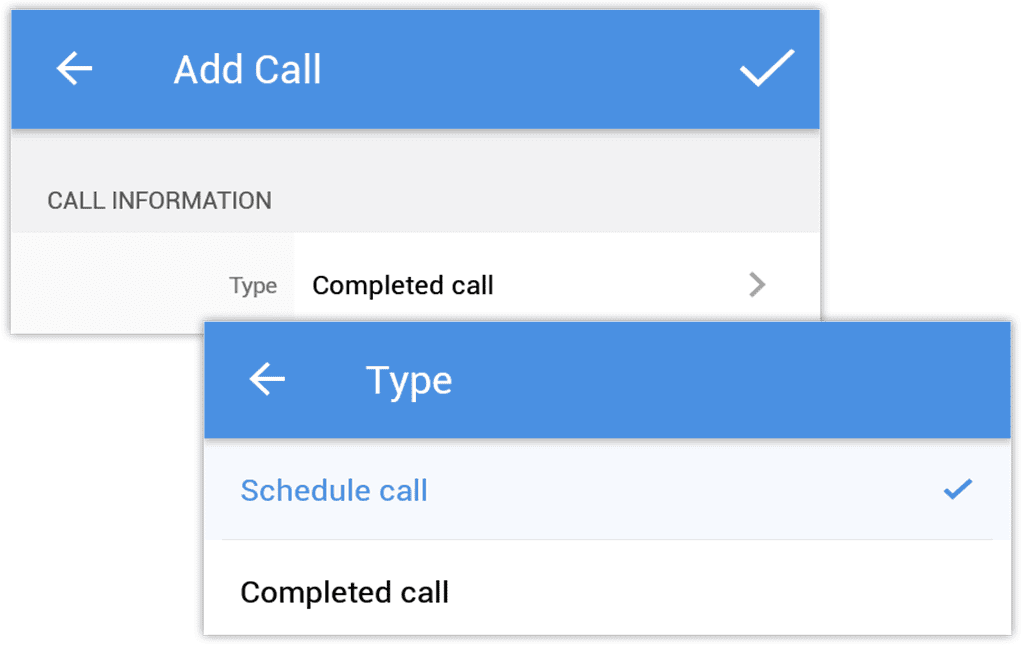
- To schedule a call, choose the desired module (leads, accounts, contacts, etc.), and select a record you want to schedule a call for. In the "Related" section of the record, click the "Add" button next to the calls. On the call information page, select "Schedule call" for "Type".
3.2.Send emails to customers
If the person you want to contact has a valid email address associated with them, you will be able to send them emails. If you have set up email using IMAP or POP3, you will be able to see all the emails you have sent to a person in the 'Email' section. You can view, reply to or forward emails directly from here.
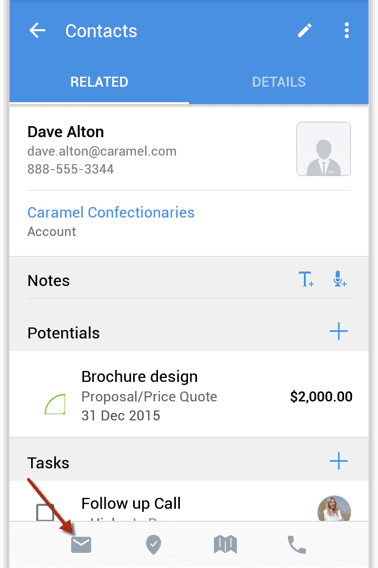
- To send emails, choose the desired module and select the person you want to send an email to, and click on the icon for Email. You can also tap the Email Template icon and select an email template. Next, you can add attachments and press the 'Send' button to send the email.
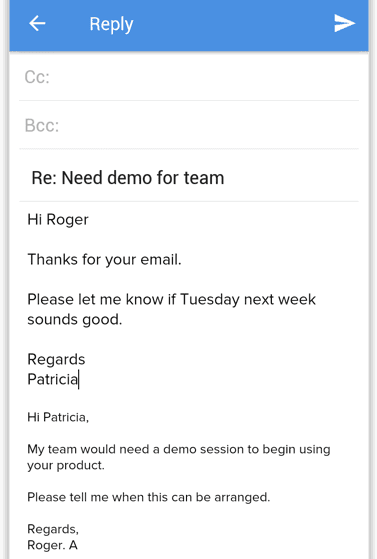
- To view your entire email history, choose the desired template, select a person and click on the "Emails" button next to it. Here you can view all the emails you have sent and received. Open an email and click the "reply" button to send a reply. You can also reply to all users in the email or forward the email. To filter the displayed emails, click the "Filter" icon to view emails sent from CRM, by all users, or only those sent by a selected user.
4.Actions that can be taken for a registration
4.1.Change of registration owner
You can change the owner of a record in your CRM account to another user and also transfer activities related to that record to the new owner.
- To change the owner of the record, choose the desired module and open the record you want to change. Click "Edit Owner" and select the new owner from the list of users. Choose if you want to transfer also activities (calls, meetings, tasks) to the new owner and then click "Done".
4.2.Upload photos, attachments or voice recordings
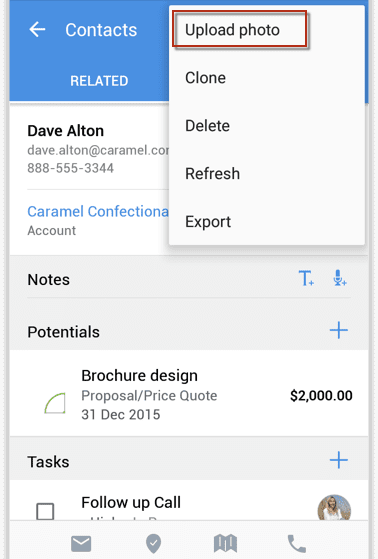
- To upload photos, go to the Leads or Contacts module and choose the record you want to upload a photo for. On the record information page, click "More". Choose 'Upload photo' and choose whether you want to take a new photo or use an existing one in your gallery.
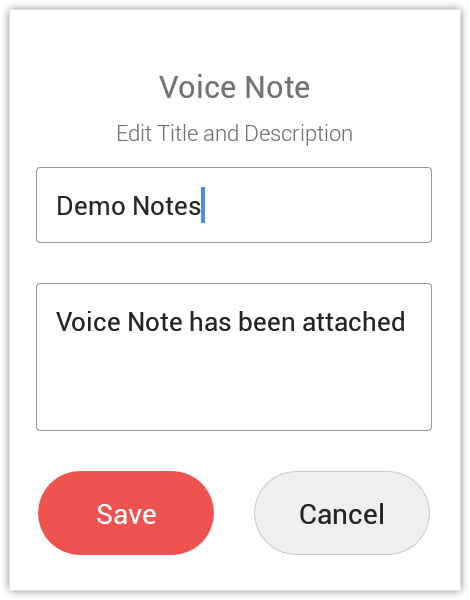
- To upload voice recordings, go to the desired module and choose a recording for which you want to add voice recordings. Next to the 'Notes' section, choose the 'Voice Note' option. In the "Voice Note" pop-up window, click "Record" to start and stop voice recording. Once you stop recording, enter the title and description for the recording and save it.
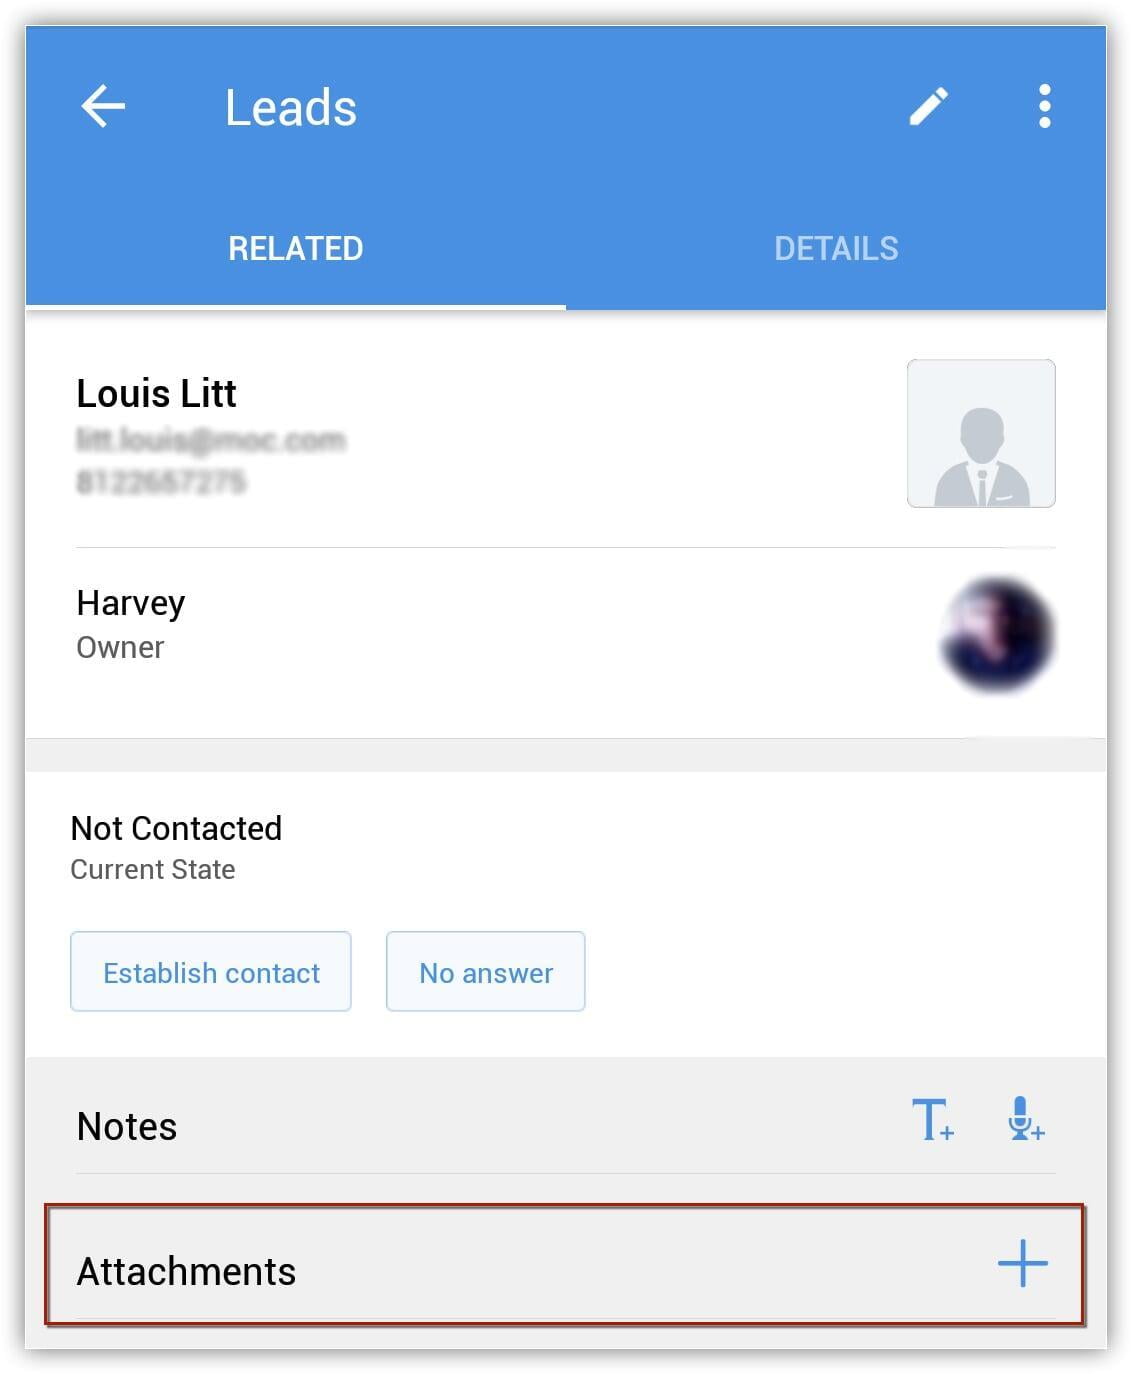
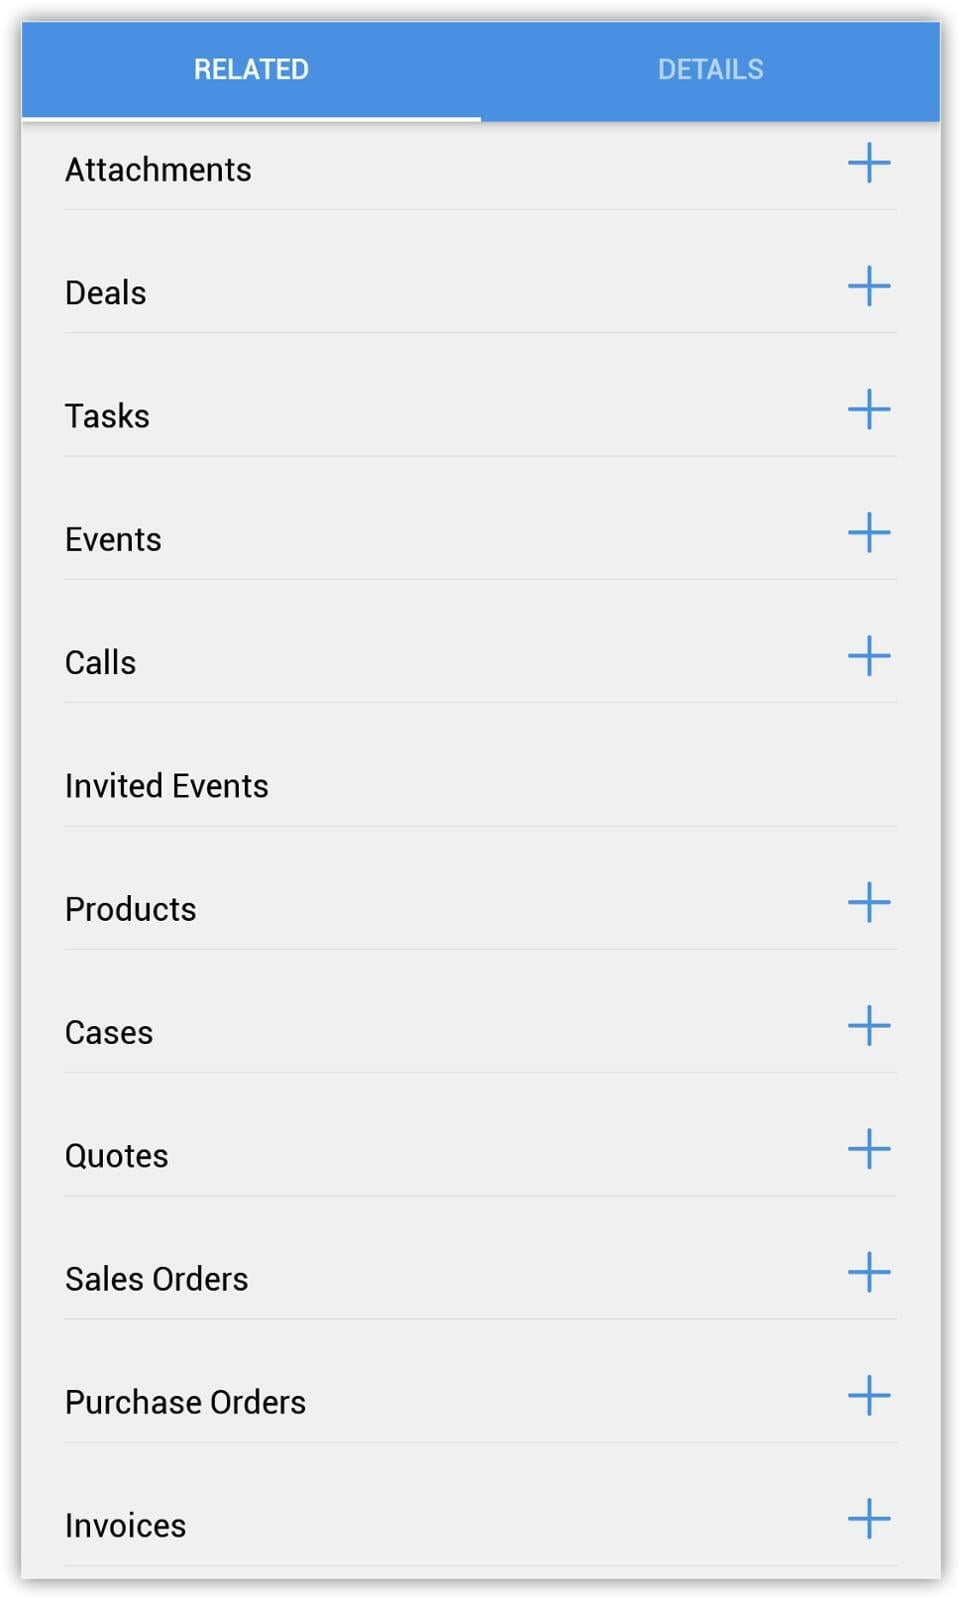
- To upload attachments, go to the desired module and choose a recording for which you want to add voice recordings, press the "+" button next to "Attachments" and select where you want to attach the necessary file from. This can be uploaded from your device or from third party applications such as Dropbox, Google Drive etc. You can attach files of up to 20 MB.
4.3.Searching for records
You can search for records, according to set criteria, to quickly find what you want. Each module has a record search tool.
- To search for records, you can perform a global search from the Zoho CRM home screen, or you can perform searches specific to your chosen module. For the latter, choose the desired module and click the "Search" icon. Enter text in the search box and as you type, matching records from the module will be displayed.
5.Find an address using Google Maps in Zoho CRM
5.1.Find leads, contacts and companies near you.
- To locate Leads / Contacts / Companies near you or in a custom location, go to a module of your choice and click on the "Map" icon at the top right. Records that are nearby will be marked with either a red marker or a purple marker. The red one indicates that there is only one record in that location, and the purple one indicates that there are multiple records in the same location. You can also select a record and press the 'Map' icon to locate its address.
5.2.Check-in at a location
A meeting with a customer (lead/contact) can be added to the CRM as an event by checking in from that location. This will create a meeting type activity that took place at a specific location at a specific time.
- To check-in at a location, go to the leads/contacts module and select a person you had a meeting with, click on the "Check-in" icon and select an event you want to check-in for, or create a new event.
6.CRM records management
6.1.Creating records
- New records can be added to any module of your choice.
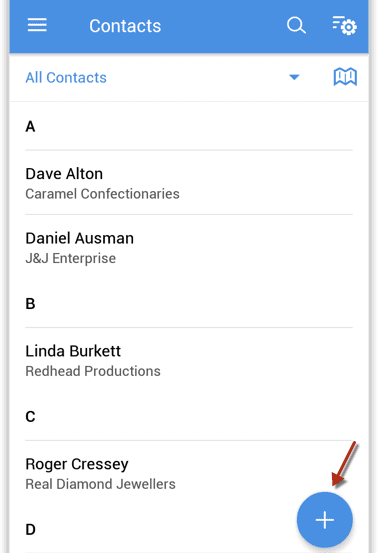
- To create a record, open the module you want to add the record to. click the + icon at the bottom right, enter the details and click "Save".
6.2.Viewing, editing and deleting records
You can choose between the different types of displays that are created in your CRM account. Records that are added to a module in your CRM account can be edited or deleted.
- To switch between different types of views, go to any module, click on the drop-down list at the top and select the desired view.
- To edit or delete records, choose the desired mode and select the record you wish to edit/delete. To edit the record, do the following: Press the "Edit" icon in the upper right corner of the screen. Make the necessary changes and click "Save". If you want to delete a recording, tap the "More" icon and select "Delete".
6.3.Lead conversion
Leads present in the CRM can be converted into Contacts and assigned to an owner (user). You can also create a new deal during the conversion.
- To convert leads, go to the lead you want to convert, press the "More", and "Convert Lead" buttons, choose an owner and press the "Convert" button at the end.
6.4.Linking records
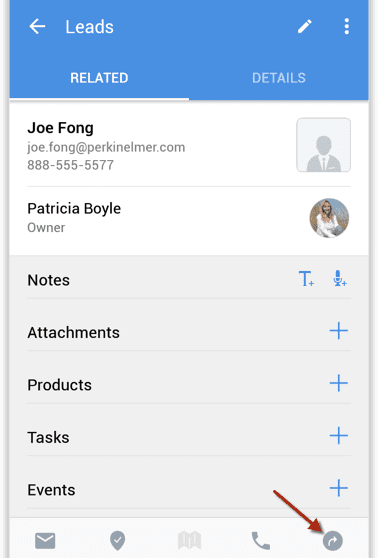
A record in one module can be associated with different records in another module using related lists.
- To associate records, open a record to which you want to associate another record. On the Related tab, click the Add icon next to the related list you want to associate. Enter the details and click on the "Save" button.

7.Zoho CRM iPhone app settings
7.1.Access code for locking and Touch ID
Access to the Zoho CRM application can be restricted by activating the lock with an access code. The user will be required to enter a four-digit access code to open the application. In addition to passcode blocking, you can also activate Touch ID or Face ID. Users who have Touch ID or Face ID set up on their Apple device can access the Zoho CRM app without a passcode.
7.2.Use Spotlight Search
Spotlight Search will help you find the data you're looking for, right from your home screen. Once Spotlight Search is enabled from the Privacy and Security window in the Zoho CRM app, you'll be able to search for information in the CRM app right from your device's home screen.
7.3.Get push notifications
Whenever something important happens in your Zoho CRM application, you should be informed so that appropriate action can be taken as soon as possible. You can enable push notification from the Privacy and Security window to be notified whenever something happens in your Zoho CRM app.
7.4.Smart View
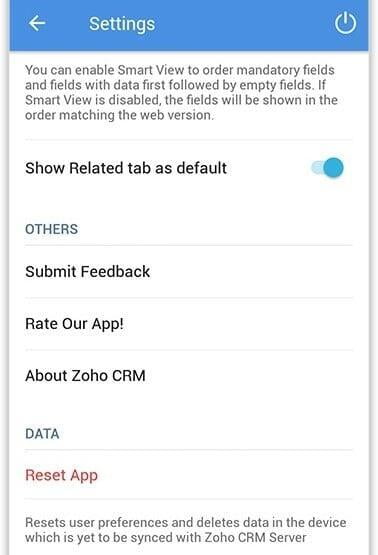
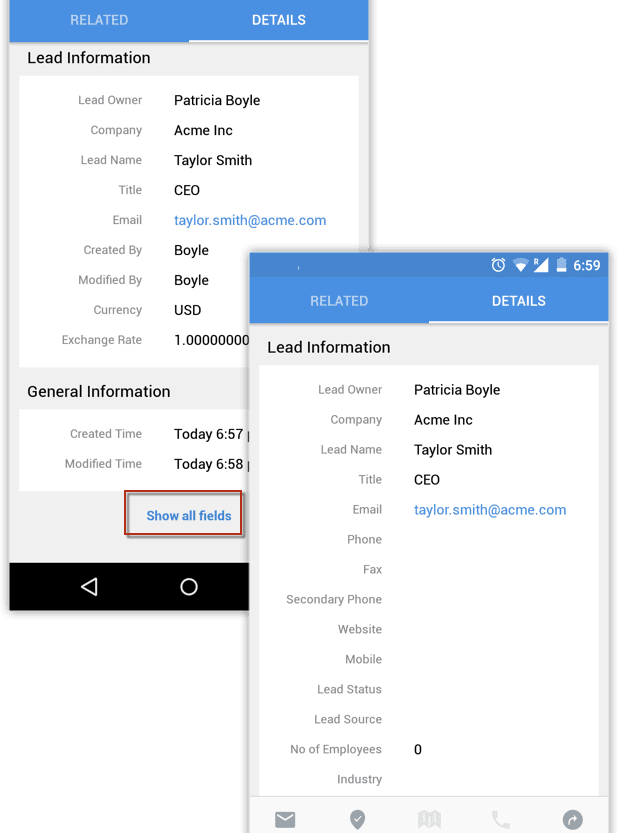
Smart View is a mobile friendly view available for all modules in the CRM application. This view mode, helps you to see only relevant fields (such as required fields) and fields that are filled in. Smart View mode is so named because it automatically displays only what is relevant to you. For example, suppose you have several fields without values for a record. The default view would display a complete list of fields, including blank fields, while Smart View would automatically ignore blank fields and display only those fields that have values. This way you don't waste time scrolling up and down looking for relevant information.
7.5.Reset the mobile app
You can reset Zoho CRM if you want to start from scratch. Your CRM data from your computer will not be lost! There are two levels of application reset.
- The "Reset" option, is an action taken to update the Zoho CRM app with the latest data from the desktop version. When you reset the Zoho CRM app, the latest additions made in the desktop version, such as custom modules, components, etc. are synchronized with the mobile app. The app settings previously configured on the device, such as themes, grouping and sorting, will be intact and the unsynchronized data will be removed.
- The "Reset and Erase" option, will erase all app settings configured on the device, such as themes, grouping and sorting and set them to default values. The app is then updated with the latest data from the desktop version, so you have a "clean environment" to work in.
